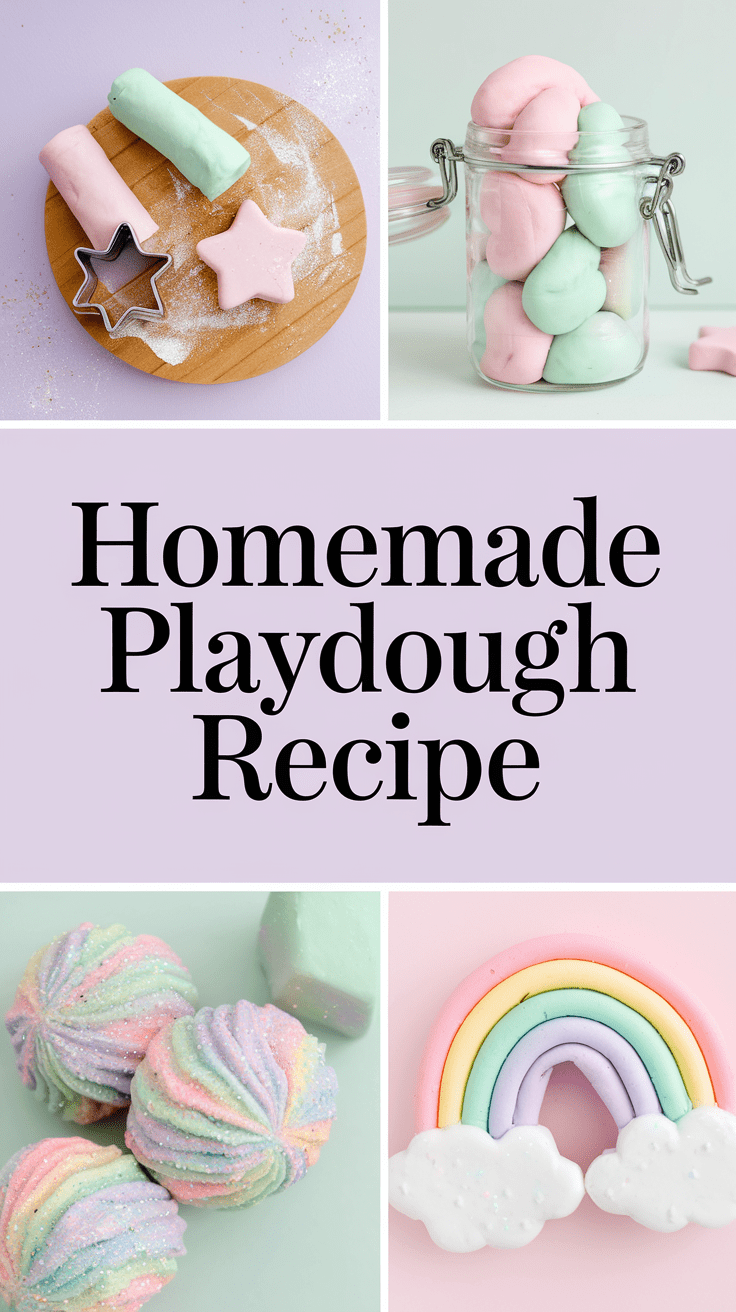
Homemade Playdough – The Easiest Recipe (with Tools Worth Having!)
Making your own playdough at home is easier than you think. With just a few basic ingredients, you can whip up a batch of soft, colorful, and non-toxic playdough in under 10 minutes. Not only is this homemade playdough recipe budget-friendly, but it’s also a healthier alternative to store-bought versions that often come packed with artificial colors, preservatives, and loads of plastic packaging.
The best part? You can customize your DIY playdough exactly the way you and your kids like it – whether that means pastel rainbow colors, a pinch of glitter, or a calming lavender scent. It’s a creative, hands-on project that children love, and parents will appreciate how easy it is to prepare.
Whether you need an indoor activity for a rainy day, a creative project for a birthday party, or simply want to cut costs and reduce waste, this step-by-step guide will show you exactly how to make playdough at home. Plus, I’ll share must-have tools and accessories that make homemade playdough even more fun to play with.
👉 In this guide, you’ll learn:
- Why homemade playdough is better than store-bought
- The easiest playdough recipe with step-by-step instructions
- Tips for customizing colors, scents, and textures
- Common mistakes and how to fix them
- The best playdough tools and storage ideas
Why Homemade Playdough is Better
If you’ve ever bought playdough at the store, you probably know the downsides: lots of plastic packaging, bright synthetic colors, and often a strong chemical smell. While commercial playdough is convenient, it’s not always the healthiest or most sustainable choice for your kids. That’s where making your own comes in. A homemade playdough recipe gives you full control over the ingredients and endless ways to customize it.
Here are the top reasons why DIY playdough is better than store-bought:
1. Non-Toxic and Safe for Kids
Most parents know the struggle: kids love exploring with their senses, and that sometimes means playdough ends up in little mouths. Store-bought brands often contain artificial dyes and preservatives that aren’t exactly child-friendly. With homemade playdough, you can use simple kitchen ingredients – flour, salt, water, and a touch of oil – to make a safe, non-toxic version that gives you peace of mind.
2. Unlimited Creativity
Why stick to the same factory-made colors when you can create your own? Homemade playdough can be customized with natural food coloring, edible glitter, or even essential oils for a calming sensory experience. Want pastel pink, galaxy purple, or mint-scented dough? With DIY playdough, the possibilities are endless, and your kids get to experiment like real little scientists.
3. Cheaper and Eco-Friendly
Another huge benefit of making playdough at home is the cost savings. For just a few cents per batch, you can create large amounts that last for weeks. On top of that, you cut down on unnecessary packaging waste. Instead of buying small plastic tubs again and again, you store your homemade playdough in reusable containers – good for your wallet and the environment.
4. Longer Shelf Life
Homemade playdough might surprise you with how long it lasts. When stored in airtight containers, it can stay soft and pliable for weeks, sometimes even longer than store-bought versions. Plus, if it ever starts to dry out, you can simply knead in a bit of water or oil to bring it back to life.
👉 In short: making your own playdough means safer play, more creativity, less waste, and more savings – all with one simple recipe.
The Easiest Homemade Playdough Recipe – Ingredients & Tips
When you search for an easy homemade playdough recipe, you’ll often find dozens of variations. Some include cream of tartar, others use cornstarch, and some even require cooking in the microwave. The truth is: you only need a handful of simple pantry staples to make soft, long-lasting, non-toxic playdough at home.
Here’s the classic homemade playdough recipe I always use – it’s quick, safe, and has the perfect consistency for hours of play.
📝 Ingredients for Homemade Playdough
- 250 g (2 cups) flour – plain all-purpose flour works best
- 125 g (½ cup) salt – this preserves the dough and adds texture
- 250 ml (1 cup) water – adjust slightly depending on humidity
- 1 tbsp vegetable oil – makes the dough soft and smooth
- 1 tsp citric acid or vinegar – helps preserve the dough longer
- Food coloring (optional) – natural or liquid food dyes work
- Essential oils (optional) – lavender, orange, or mint for scented playdough
👉 Tip for parents of toddlers: Bake the flour in the oven for 5 minutes at 100°C / 210°F before use. This kills bacteria and makes the dough even safer for little ones who still explore with their mouths.
Step-by-Step Instructions
- Mix dry ingredients: Combine flour and salt in a large bowl.
- Add liquids: Stir in water, oil, and citric acid (or vinegar).
- Cook the mixture: Transfer to a saucepan and heat over medium heat, stirring constantly.
- Watch the texture: Once the mixture thickens and forms a dough, remove from heat.
- Cool & knead: Allow to cool slightly, then knead until smooth.
- Customize: Add food coloring, essential oils, or glitter while kneading.
- Store properly: Place in airtight containers or jars to keep fresh.
Variations of This Playdough Recipe
- Natural playdough colors: Use beet juice, turmeric, or spinach powder for plant-based colors.
- Gluten-free playdough: Substitute flour with cornstarch and baking soda.
- No-cook playdough: Mix ingredients with hot water instead of cooking – quicker, but doesn’t last as long.
- Edible playdough: Use peanut butter, powdered sugar, or mashed bananas for taste-safe versions.
Storage Tips (to make it last longer)
- Keep in airtight containers or resealable bags.
- Store in the fridge if you want it to last several weeks.
- If it dries out, add a few drops of water and knead again.
- If it’s too sticky, knead in a little more flour until smooth.
Creative Playdough Ideas – Colors, Scents & Textures
One of the biggest advantages of making your own playdough at home is that you can get creative with it. Store-bought versions usually come in a limited range of colors and textures, but with a homemade playdough recipe, you can mix, match, and experiment as much as you want.
Here are some of the most popular and fun ways to customize your DIY playdough:
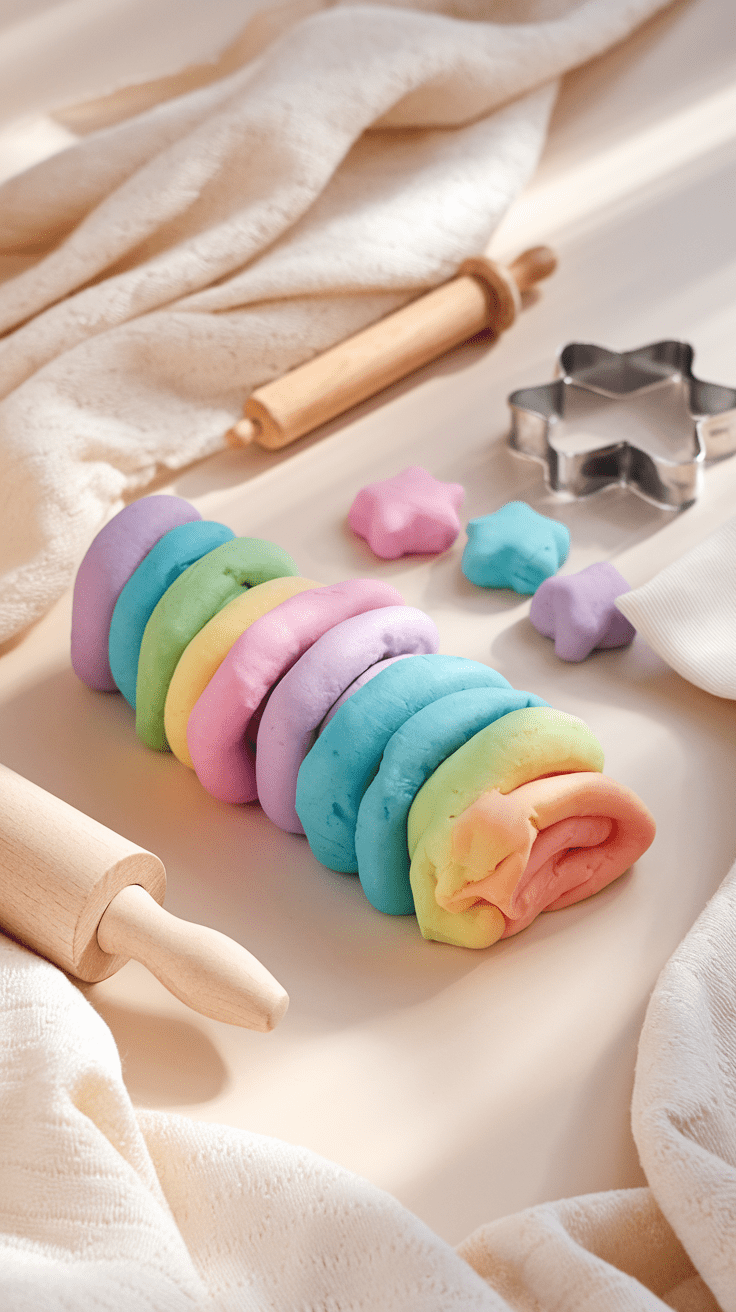
Rainbow Playdough
Kids love bright colors – and rainbow playdough is always a hit. Divide your batch into smaller portions and knead in different food colors. You can create pastel shades for a soft look or bold neon tones for extra fun.
👉 Pro tip: Use gel or highly pigmented food coloring for the best results. Liquid colors work too but may require adding a little extra flour.
Scented Playdough
Turn playdough into a full sensory experience by adding a few drops of essential oil. Lavender is calming, citrus oils are uplifting, and peppermint is refreshing. Scented playdough is perfect for quiet time, sensory play, or calming activities before bedtime.
👉 Always make sure to use child-safe essential oils and only a few drops.
Glitter Playdough
Kids who love sparkle will go crazy for glitter playdough. Add edible glitter to keep it safe for toddlers who still explore with their mouths. For older kids, fine craft glitter works too – it gives a magical shimmer that makes playdough even more fun.
👉 Safety tip: Stick with edible glitter for children under 3 to avoid swallowing hazards.
Natural Playdough Colors
If you prefer eco-friendly and safe alternatives, try coloring your playdough with natural ingredients:
- Beetroot powder → pink or red
- Turmeric → yellow
- Spinach powder → green
- Cocoa powder → brown
- Blue spirulina → light blue
This way, you get vibrant colors without artificial dyes – perfect for parents who prefer a natural playdough recipe.
Fun Add-Ons for Playdough Play
Once you’ve made a few batches, you can add extras for even more excitement:
- Glow-in-the-dark powder → spooky night play
- Rice or sand → gritty, textured playdough
- Mini beads or sequins → for jewelry-themed creations
- Herbs & spices → cinnamon, vanilla, or mint for holiday playdough
These variations turn your kitchen experiment into a real creative workshop for kids.
👉 The beauty of homemade playdough is that no two batches need to be the same. Every time you mix a new color, add a new scent, or sprinkle in glitter, your kids get something completely fresh and exciting.
Common Playdough Problems & How to Fix Them
Even the best homemade playdough recipe doesn’t always turn out perfectly on the first try. Sometimes the dough is too sticky, sometimes too dry, or the color just doesn’t hold. Don’t worry – these are common issues, and they’re easy to fix. Here’s a simple troubleshooting guide to save your batch.
Problem 1: Sticky Playdough
Symptom: The dough sticks to your fingers, the table, or the rolling pin.
Cause: Too much water or not enough flour.
✅ Fix: Sprinkle in a tablespoon of flour at a time and knead until the dough reaches a smooth, non-sticky texture.
👉 Pro tip: If you live in a humid climate, you may need slightly more flour than the recipe suggests.
Problem 2: Dry or Crumbly Playdough
Symptom: The dough breaks apart, feels rough, or won’t hold shapes.
Cause: Too little water or too much flour.
✅ Fix: Add a teaspoon of water or a drop of oil and knead thoroughly. Repeat until the dough softens.
👉 Pro tip: If you store playdough in the fridge, let it warm up a bit before play – cold dough can feel crumbly until softened by kneading.
Problem 3: Color Bleeding
Symptom: Food coloring rubs off on hands or surfaces.
Cause: Too much liquid food dye in the dough.
✅ Fix: Add more flour to absorb the excess liquid. Knead well until the color blends smoothly.
👉 Pro tip: Gel food coloring or powdered natural dyes bleed less than liquid ones.
Problem 4: Playdough Doesn’t Last
Symptom: After a few days, the dough smells strange, dries out, or grows mold.
Cause: Improper storage or missing preservative (citric acid/vinegar).
✅ Fix: Always store in airtight containers or resealable bags. Keep in a cool, dry place. Add citric acid or vinegar to extend shelf life.
👉 Pro tip: If you want playdough to last several weeks, keep it in the fridge when not in use.
Quick Troubleshooting Table
| Problem | Cause | Quick Fix |
|---|---|---|
| Sticky dough | Too much water | Add more flour & knead |
| Crumbly dough | Too dry | Add water or oil & knead |
| Color bleeding | Too much dye | Add flour & knead |
| Short shelf life | Poor storage | Airtight containers + vinegar |
👉 With these quick fixes, you’ll never have to throw away a failed batch again. In fact, troubleshooting playdough is part of the fun – kids can join in and learn about experimenting, adjusting, and problem-solving while playing.
The Best Playdough Tools & Accessories
Sure, you can make playdough with nothing more than your hands and a kitchen counter. But if you really want to turn playdough afternoons into a creative workshop, a few accessories make all the difference. The right tools encourage kids to play longer, explore textures, and practice motor skills – without you having to pack up half the kitchen each time.
Here are the best playdough tools and accessories every family should have:
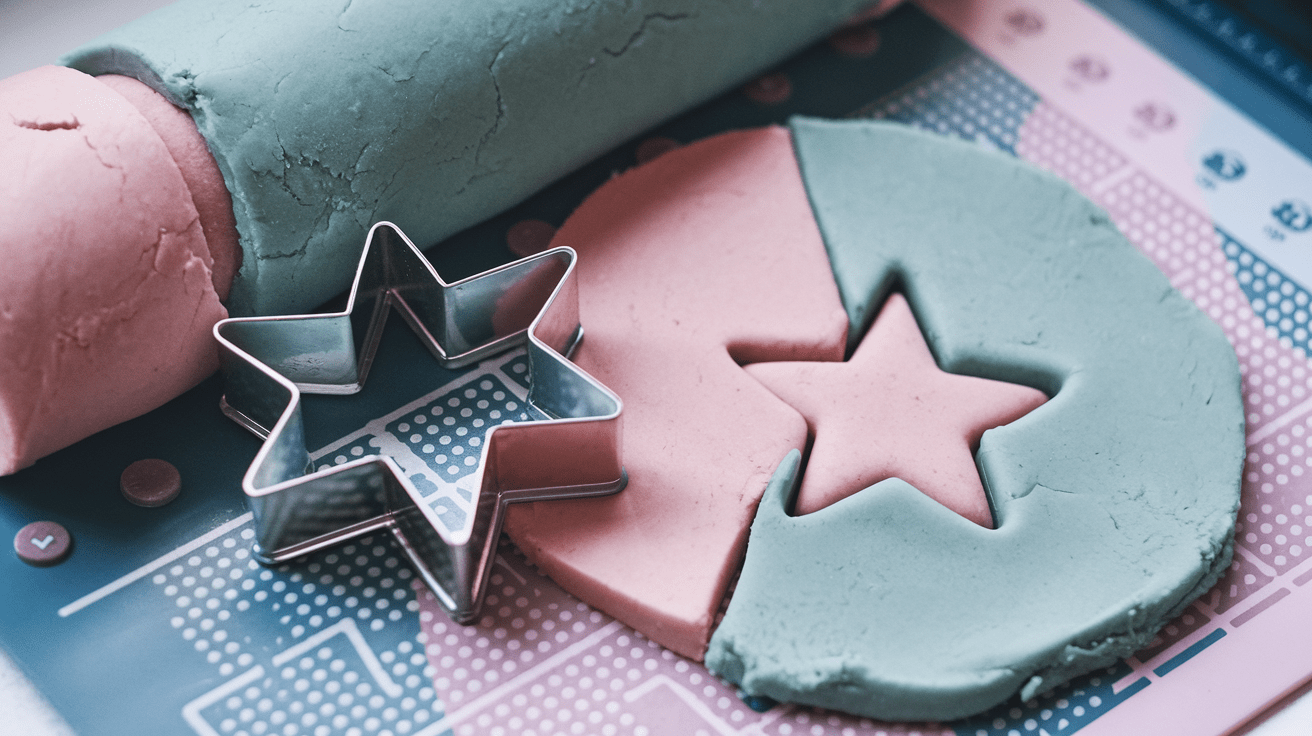
Playdough Tools & Cutter Set
A good starter set usually includes rolling pins, cookie cutters, stamps, and sculpting tools. These accessories help kids shape their playdough into animals, letters, or whatever their imagination creates.
👉 Look for sets with sturdy plastic tools – safe for kids and easy to clean.
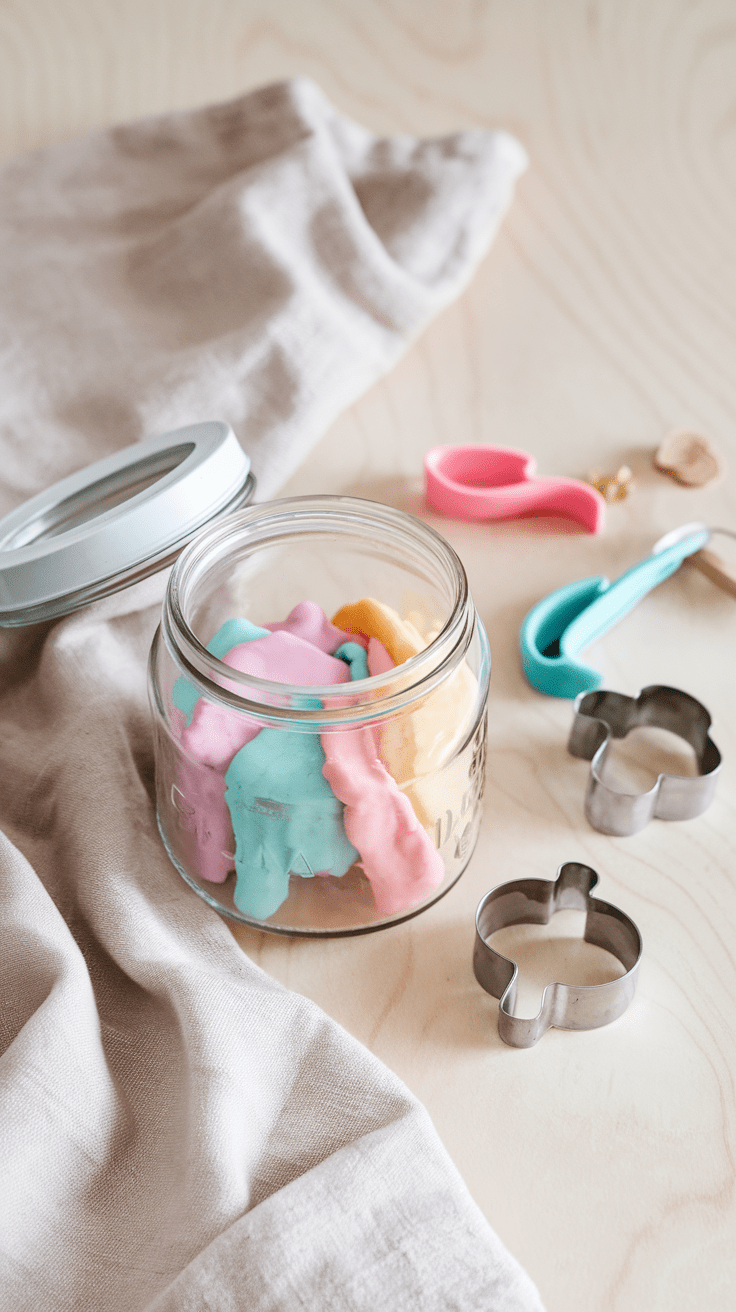
Airtight Storage Containers
One of the secrets to keeping playdough soft is proper storage. Airtight containers or jars with snap lids prevent drying out and make it easy to organize different colors.
👉 Transparent containers are perfect for kids to see their favorite colors at a glance.
Kids’ Activity Table with Storage
A child-sized craft table with built-in storage makes playdough time stress-free. No more flour on the dining table – instead, your child has their own creative zone. Look for wipeable surfaces and shelves to store tools and containers.
👉 Bonus: A dedicated table encourages independent play and makes clean-up easier.
SEO Keywords integrated: playdough activity table, kids’ craft table
✨ Themed Playdough Sets
Adding a themed accessory (like an ice cream maker or a pizza kit) turns playdough into role play. For example:
- Playdough Ice Cream Machine → pretend play for little vendors
- Playdough Bakery Kit → rolling, cutting, decorating cupcakes
- Playdough Farm Animals Set → molds for animals and tractors
These kits keep kids entertained for hours and spark imaginative play.
Silicone Mat for Playdough
A non-stick silicone mat is a lifesaver for parents. It keeps flour and color off the kitchen table and gives kids a designated workspace. Plus, textured mats allow kids to press patterns into their dough like real little artists.
👉 Choose a large, washable mat – easy cleanup guaranteed.
Why These Tools Are Worth It
With the right accessories, your homemade playdough recipe becomes more than just dough – it becomes an activity your kids will want to repeat again and again. The tools add structure, variety, and fun while also helping with fine motor skills and creativity.
Homemade Playdough That Lasts – Final Thoughts + FAQ
Making playdough at home is one of those parenting hacks that never gets old. It’s quick, inexpensive, and endlessly customizable. More importantly, it gives you full control over the ingredients – no unnecessary chemicals, no excess plastic, and no overpriced tubs that dry out in a week.
With this easy homemade playdough recipe, you’ll always have a fun, safe, and creative activity ready – whether it’s for a rainy afternoon, a birthday party craft table, or simply to keep little hands busy. Add in a few tools, scents, or glitter, and you’ve got hours of screen-free entertainment.
👉 So grab the ingredients, let your kids choose their favorite colors, and start kneading! I promise, you’ll enjoy it just as much as they do.
❓Frequently Asked Questions About Homemade Playdough
How long does homemade playdough last?
When stored in airtight containers, homemade playdough usually lasts 2–4 weeks at room temperature. If you refrigerate it, it can last even longer. Always check for changes in smell or texture before use.
Is homemade playdough edible?
Not really. While this recipe uses non-toxic kitchen ingredients like flour and salt, it’s not meant to be eaten because of the high salt content. If you want a taste-safe version for toddlers, try an edible playdough recipe with peanut butter or powdered sugar instead.
Can you make playdough without cream of tartar?
Yes! This recipe works perfectly with vinegar or citric acid as a substitute. Both help preserve the dough and give it the right texture.
Why is my homemade playdough sticky?
If your playdough sticks to your hands or table, it usually means you’ve added too much water. The fix is simple: knead in more flour until it becomes smooth and soft again.
Can I color playdough naturally?
Absolutely! Try beetroot powder for pink, turmeric for yellow, spinach powder for green, and cocoa for brown. These natural dyes create beautiful, eco-friendly playdough without artificial colors.
Final Note
Homemade playdough is more than just a craft – it’s a bonding activity, a sensory experience, and an easy way to spark creativity in kids of all ages. With this recipe, you’ll never need to buy store-bought dough again.