Slime Recipe for Kids – Creative & Glue-Free Ideas
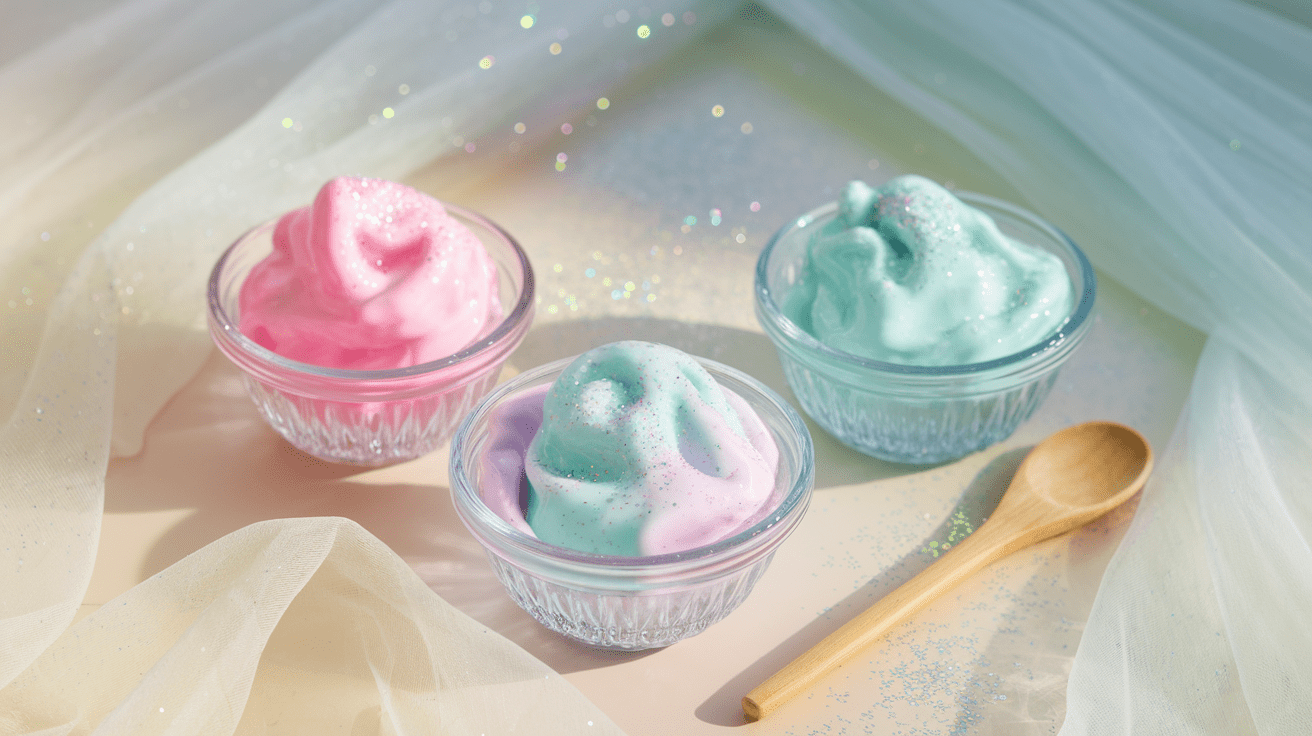
There is something magical about slime. The moment kids see it, their faces light up. It stretches, it squishes, it sparkles if you add a bit of glitter. And suddenly playtime turns into a little adventure.
I know how it feels when you want to give your child something fun to do, but you also want it safe. So many slime recipes you find online use glue, borax, or other things you might not want in your home. Especially not when little hands and curious mouths are involved.
That’s why I started looking for better options. Recipes that are simple, safe, and still bring that wow effect kids love. The good news: you don’t need fancy stuff. Just a few everyday ingredients from your kitchen or bathroom are enough. Cornstarch, applesauce, a bit of shower gel. Mix them together and you get textures that kids can press, roll, stretch, and explore.
These glue-free slime recipes are perfect for toddlers, because they are soft and harmless if tasted. But trust me, older kids love them just as much. They can get creative, add colors, make glitter galaxies, or even build their own slime lab.
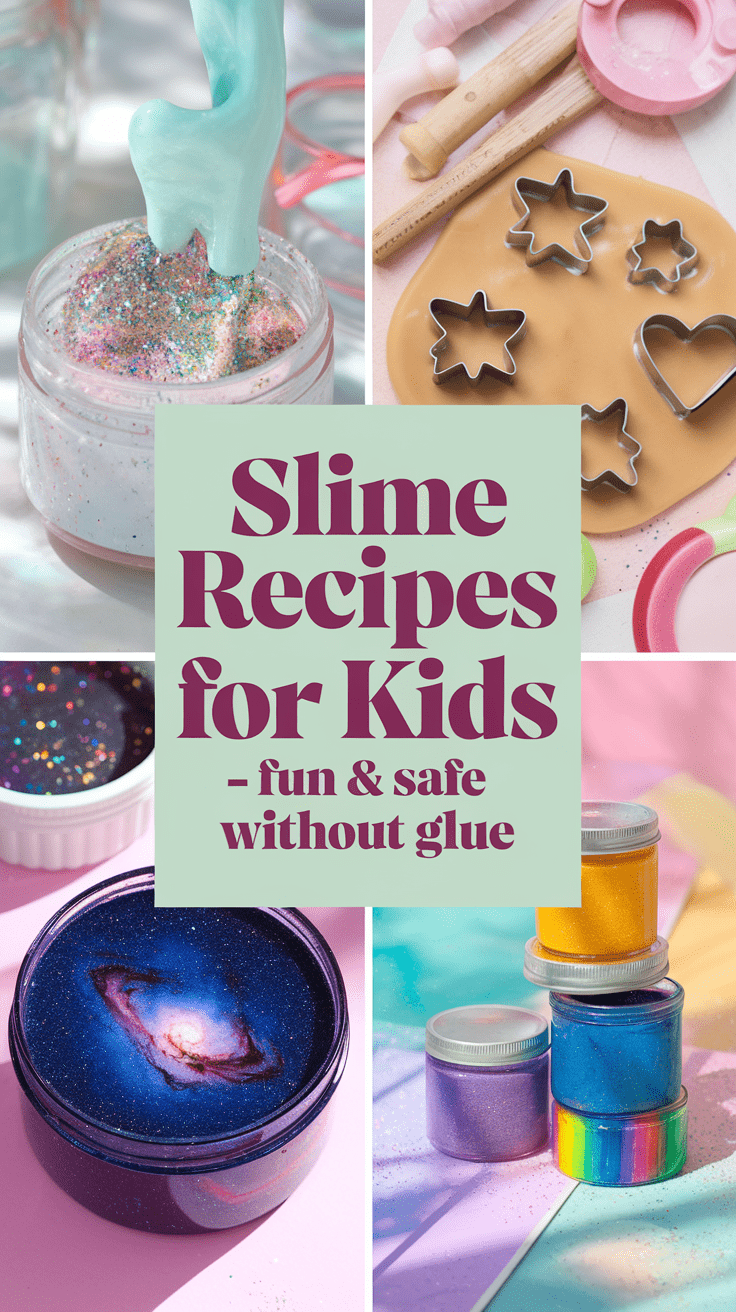
In this post, I’ll share three of my favorite slime recipes without glue. They are quick to make, easy to adapt, and full of playful ideas. You’ll also get tips on how to store them, fun ways to play, and even the hidden learning benefits behind all that squishy fun.
So grab a bowl and a spoon. Let’s create slime that makes kids happy, parents calm, and playtime truly magical.
Why choose a glue-free slime recipe
If you’ve ever searched for a slime recipe, you know what most guides suggest: white glue, borax, contact lens solution. The problem? None of these feel safe when small kids are around. Glue on the table, sticky fingers in the mouth, chemicals you can’t even pronounce. Not exactly what you want in a cozy afternoon of play.
That’s why glue-free slime is such a game changer. It gives you the same fun textures, but without the worry. You can sit back, sip your coffee, and actually enjoy watching your kids experiment.
Here’s why I love it:
✔️ It’s gentle on the skin and easy to wash off
✔️ Most versions are edible or at least harmless if tasted
✔️ Toddlers and preschoolers can join in without stress
✔️ You only need a few ingredients you already own
And the best part: you don’t need to run to the craft store. Cornstarch from the pantry, applesauce from the fridge, shower gel from the bathroom – and you’re ready.
Glue-free slime means more than safety. It means playtime that feels natural, creative, and carefree.
Slime play is more than just fun
Slime may look like simple goo, but it does so much more for kids. Every squeeze, every stretch, every roll gives them tiny learning moments hidden in play.
Here’s what happens when kids play with slime:
✔️ Fine motor skills grow stronger with every pinch and pull
✔️ Creativity flows as they mix colors, add glitter, invent their own slime world
✔️ Sensory play helps them notice textures, softness, stickiness, smoothness
✔️ Play can calm busy minds, almost like drawing or kneading dough
✔️ Talking about slime builds language skills: kids compare, describe, explain
What looks like messy play is actually a quiet tool for growth. Slime helps children slow down, focus, and discover. It can even be soothing after a busy day.
So while kids think they’re just having fun, they are also building skills that stay with them for life.
Recipe 1: Cornstarch and Shower Gel Slime
This is the easiest slime recipe to start with. It works with just two ingredients, feels soft in your hands, and is safe even for toddlers. Perfect for a rainy afternoon when you want quick fun without a big mess.
What you need
- 3 tablespoons cornstarch
- 2 tablespoons shower gel (mild and gentle)
- Optional: a drop of food coloring or some glitter
How it works
Put the cornstarch in a bowl, add the shower gel little by little, and stir. At first it feels crumbly, but keep kneading with your hands. Soon you’ll get a smooth, squishy slime.
Too sticky? Add more cornstarch. Too dry? Add a tiny bit of gel. Kids can help adjust the mix, which makes the whole process more fun.
Fun twists
- 🌸 Mix in dried flower petals for a “spring slime”
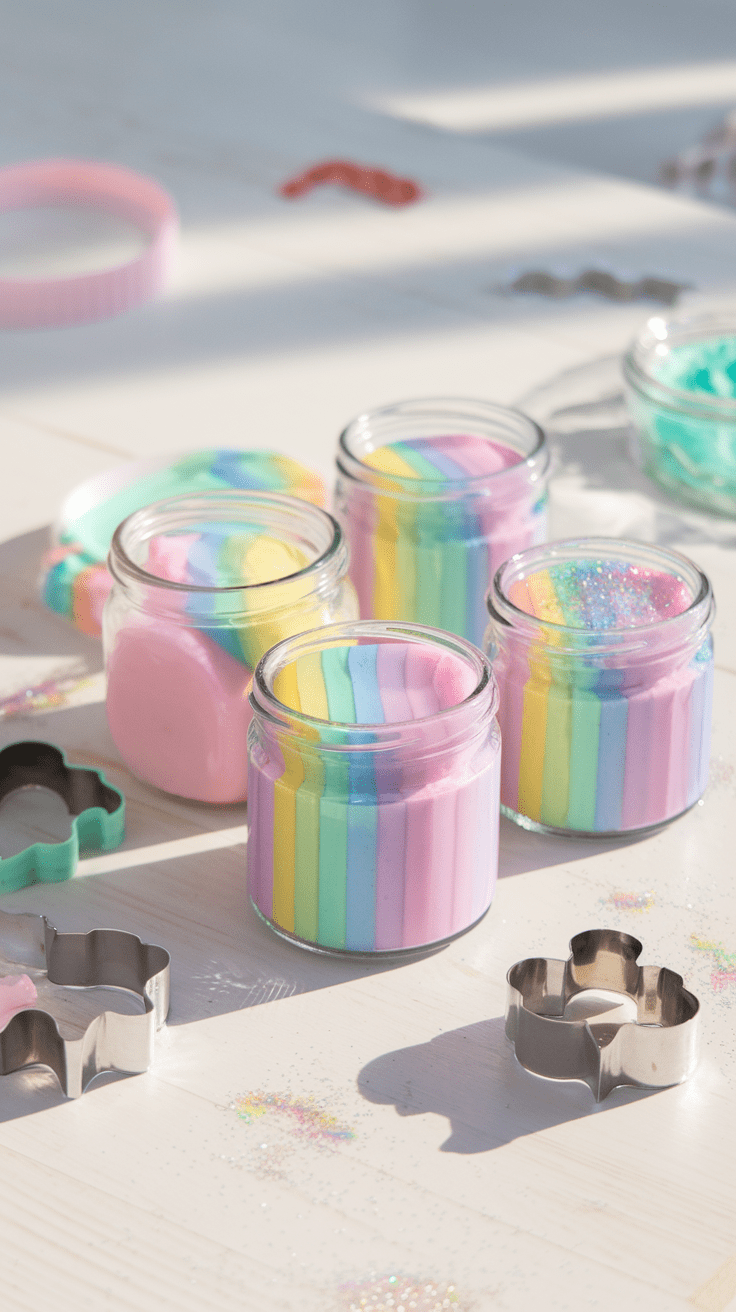
- 🎨 Add rainbow colors with food dye
- ✨ Sprinkle glitter for a sparkling effect
Play ideas
- Pretend baking: use cookie cutters, muffin trays, little spoons
- Texture play: press in shells, toy animals, or stamps
- Feelings game: talk about how it feels – soft, smooth, sticky, rough
This recipe is perfect for younger kids because it’s gentle, quick, and always a hit.
Recipe 2: Edible Applesauce Slime
This one is a lifesaver if you have toddlers. Safe enough if a little hand goes from bowl to mouth, yet still fun to squeeze and play with. The texture is softer than classic slime, but perfect for curious kids who love to explore.
What you need
- 4 tablespoons applesauce
- 2 tablespoons cornstarch
- A drop of food coloring if you like
How it works
Spoon the applesauce into a bowl. Add the cornstarch and stir. Soon the mix gets thicker and turns into a sticky dough. Knead it a little until it feels smooth. If it’s too wet, add more cornstarch. If it’s too dry, add more applesauce.
Fun twists
- Add a pinch of cinnamon or vanilla for a cozy smell (best for kids 3+)
- Make “apple slime” with green food coloring
- Try red or yellow for fruity rainbow vibes
Play ideas
- Pretend cooking: scoop the slime into cups, stir with spoons, serve in little bowls
- Cookie cutters: press out shapes like stars, hearts, or animals
- Hidden treasures: place small toy animals in the slime and let kids “rescue” them
This recipe is short-lived, but it’s worth it. It’s safe, fun, and makes little ones feel like real slime pros.
Recipe 3: Psyllium Husk Slime
This one is for bigger kids who love experiments. It’s stretchy, gooey, and feels almost out of this world. Not edible, but totally safe to touch. The best part? It looks and acts like classic slime, only made from simple ingredients.
What you need
- 1 teaspoon psyllium husk
- 200 to 250 ml water
- Food coloring in your favorite shade
How it works
Mix everything in a microwave-safe bowl. Heat it for two to three minutes, stirring in between. Watch how the husk turns into a gel-like texture. Let it cool before little hands start playing.
Why kids love it
- It stretches like chewing gum
- You can pull it, roll it, or tear it apart
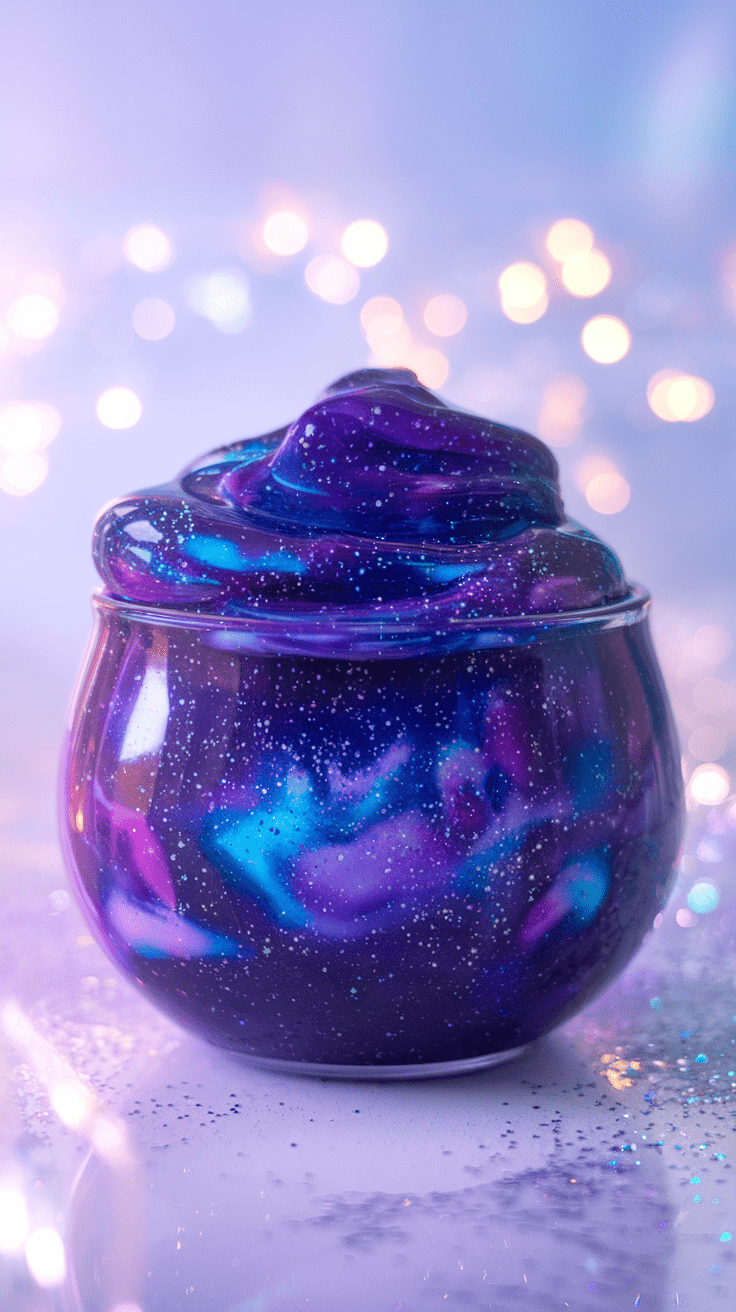
- With colors and glitter, it becomes a tiny galaxy
Fun twists
- Science lab: mix different colors and see how they change
- Galaxy slime: add blue, purple, and a pinch of glitter
- Slime race: stretch two slimes and see which goes further
This recipe is always a hit with older kids. They love the wow moment when water and husk suddenly transform into real slime.
How to store your slime
Slime is fun, but it doesn’t last forever. Because we use safe and natural ingredients, the recipes stay fresh only for a few days. That’s normal and nothing to worry about. With the right storage, you can make the most of your creations.
| Slime recipe | How long it lasts | Best storage |
|---|---|---|
| Cornstarch & shower gel slime | 2 to 3 days | Airtight jar at room temperature |
| Applesauce slime | 1 day | Sealed container in the fridge |
| Psyllium husk slime | Up to 3 days | Airtight jar at room temperature |
Tips that help:
- Always use small, airtight jars or boxes
- Keep the lids closed so the slime stays soft
- Throw it away if it smells odd, changes color, or gets moldy
When it’s time to say goodbye: please don’t wash slime down the sink. Even natural mixes can block your pipes. Toss it into the organic bin if it’s just food ingredients. If you used glitter or food dye, the regular trash is the safest choice.
That way play stays fun, your home stays clean, and slime never causes trouble once playtime is over.
Safety first
Slime is safe fun when you keep a few simple rules in mind. Kids get the most joy out of it when you join in, watch closely, and guide the play a little.
What matters most:
- Always supervise younger kids while they play
- Even edible slime is a toy, not a snack
- Skip ingredients your child might be allergic to
- Wash hands before and after playing
- Throw slime away if it smells, molds, or feels different
These tips may sound obvious, but they make a big difference. A quick rinse of little hands, a check for safe ingredients, and your slime time is ready to go.
With a bit of care, slime play becomes safe, creative, and worry-free.
❓FAQ about slime recipes without glue
Can I make slime without food coloring?
Yes, of course. Plain slime works just as well. In fact, toddlers often enjoy it more because they can focus on the texture. If you want color later, just knead in a drop of food dye or add a sprinkle of glitter.
Which slime recipe is the stretchiest without glue?
The psyllium husk slime. It turns into a gooey, elastic texture that feels close to classic slime. Add a drop of oil if you want it even smoother.
Can I reuse slime?
Yes, but only for a few days. Keep it in a sealed jar. If it smells odd or changes texture, throw it out and make a fresh batch.
Are there edible slime recipes?
Yes. The applesauce version is safe for toddlers. Other ideas include pudding powder or melted marshmallows. Remember: even edible slime is for play, not for snacks. Always supervise young kids.
Slime fun without glue
Slime is more than a sticky game. It’s a way for kids to explore, imagine, and create. With these simple slime recipes, you don’t need glue or chemicals. Just safe ingredients, a bowl, and a few minutes of time.
You’ll see little hands press, stretch, and laugh. You’ll hear their excitement when the mix changes right in front of them. And you’ll feel good knowing it’s safe, simple, and playful.
So pick your favorite recipe, gather your supplies, and enjoy a moment of pure magic together. Slime play can be easy, calming, and unforgettable.